


Drawing of the motor is HERE.
3D model (3/8" shaft version) is HERE.
-
Motor Specifications:
- Brand new electric gear motor with high torque.
- Speed adjustable via a PWM (Pulse Width Modulating) controller.
- Dimensions:
- Motor length: 7 inches.
- Motor diameter: 2.5 inches.
- Drive shaft: 3/8" D-shaft.
- Rated voltage: 13.5 VDC.
- Maximum speed: 50 RPM.
- Rated output torque: 6 N-m (4.4 ft-lb).
- Mounting: M6 screw mounting
-
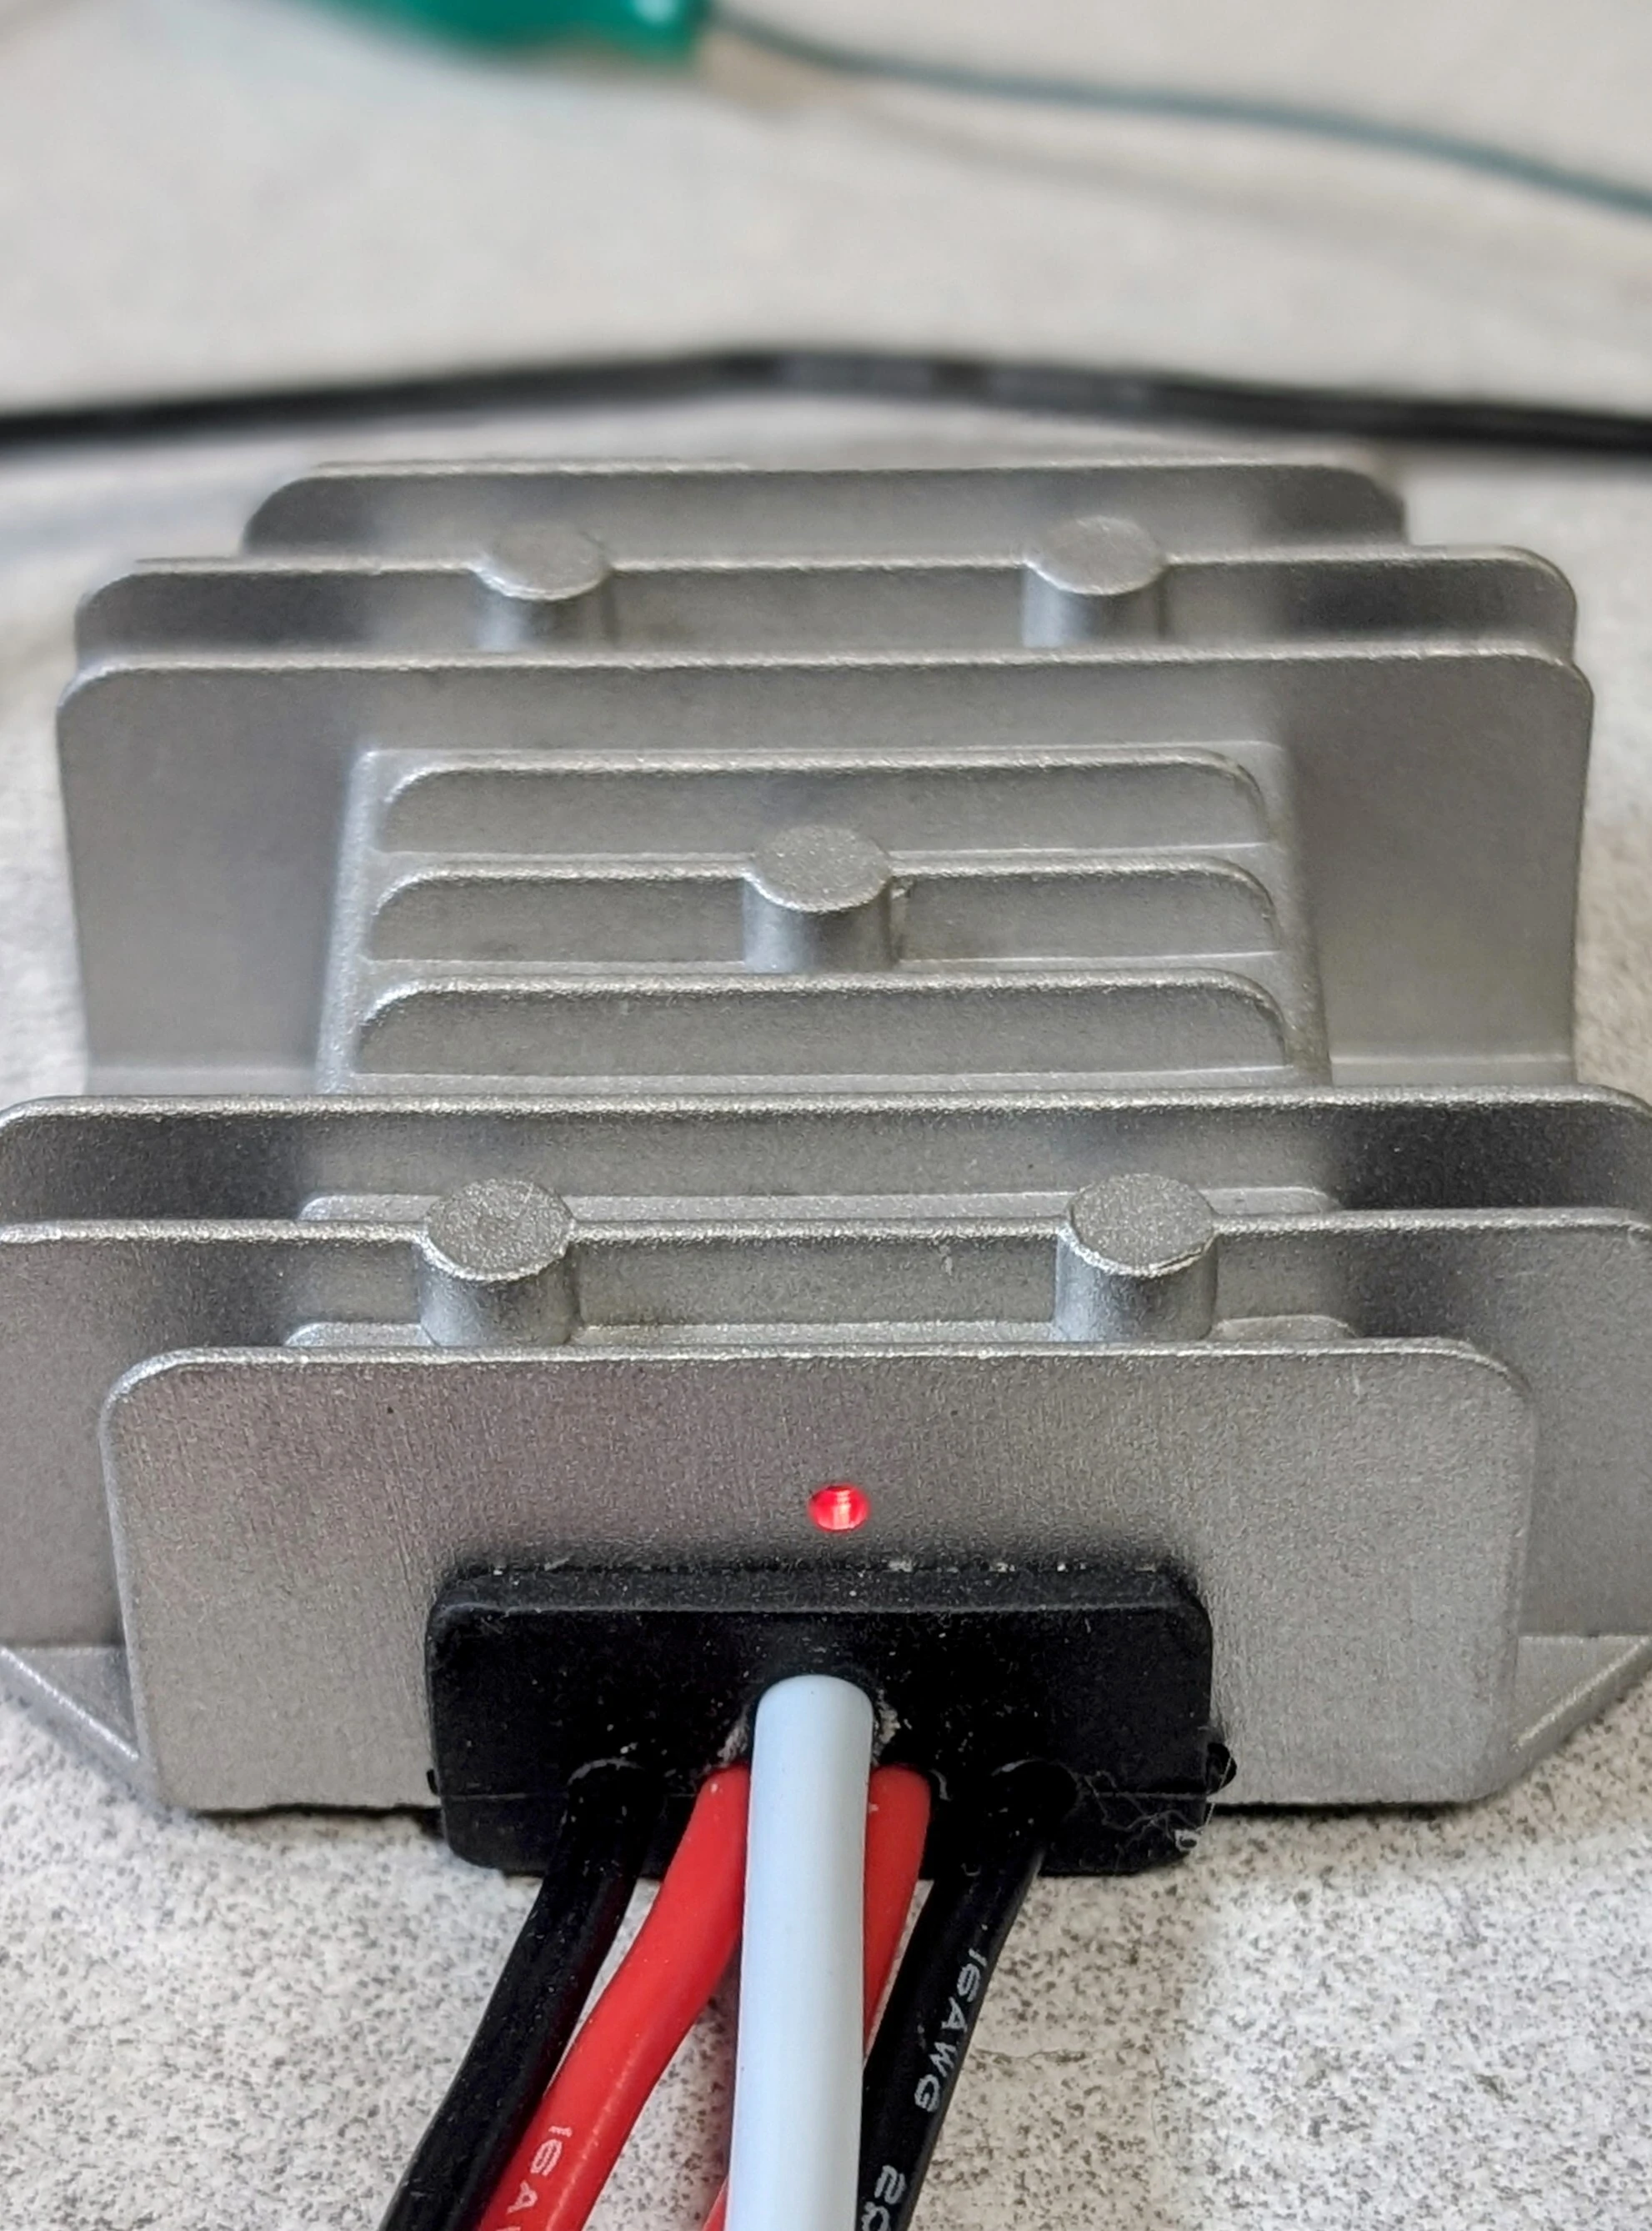
PWM Controller Features:
- 12V DC controller with a 5-inch (12.7 cm) connection to the potentiometer.
- Potentiometer includes a built-in on/off switch with a knob.
- Overload protection at 25 amps (controller shuts down at this current).
-
Connections:
- Connectors between the gear motor and the controller.
- Wiring for CW rotation:
- Motor's green connector → Controller's red connector.
- Motor's red connector → Controller's black connector.
- Wiring for CCW rotation:
- Motor's green connector → Controller's black connector.
- Motor's red connector → Controller's red connector.
-
Wiring Lengths:
- Connection wires between motor and controller: 10 inches (25.4 cm).
- 12V connection wire: 12 inches (30.5 cm).
-
Operating Instructions:
- Power On/Off:
- Press the knob (like a push button) to turn the controller ON or OFF.
- A built-in LED indicator will light up when the controller is powered ON.
- Adjusting Speed:
- Rotate the knob clockwise to increase motor speed or counterclockwise to decrease it.
-
Knob Installation Guide:
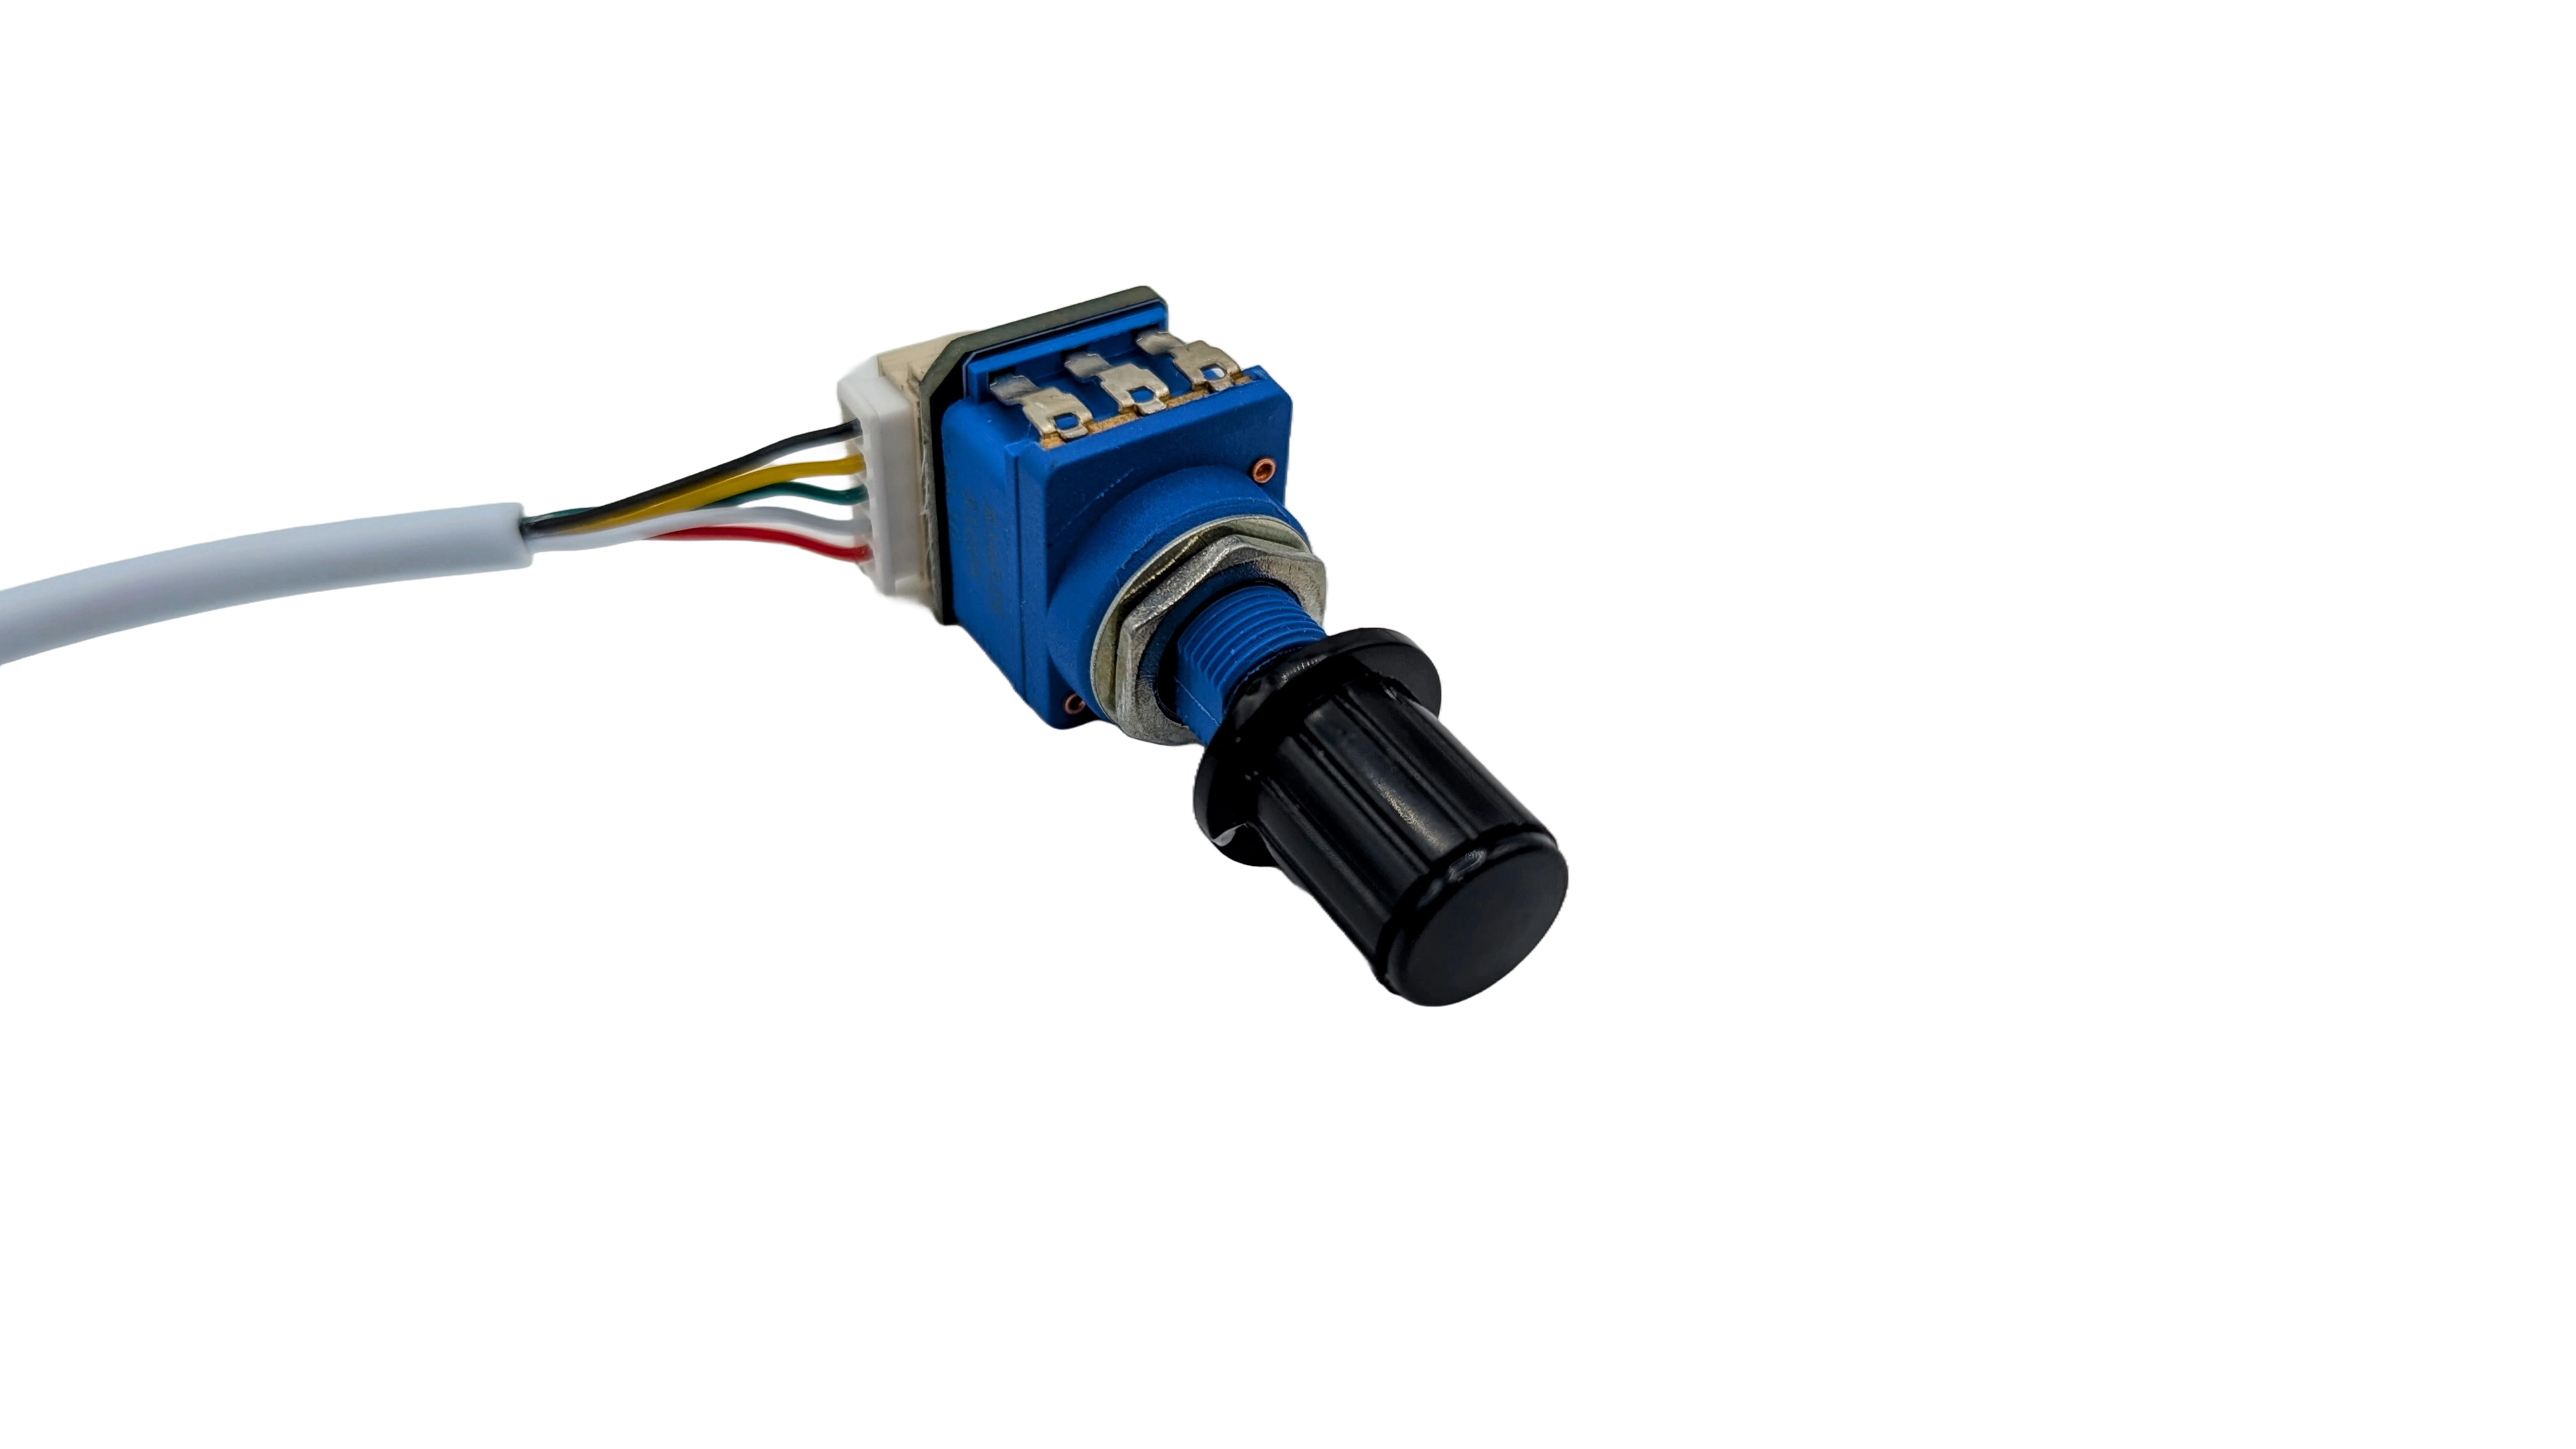
Follow these steps to securely attach the knob to the potentiometer (pot) shaft:
- Remove the Plastic Cap:
- Gently pull off the plastic cap from the top of the knob to expose the screw inside.

- Attach the Knob:
- Slide the brass insert (inside the knob) onto the pot shaft.
- Ensure the knob is positioned with a small gap between it and the panel where the pot is mounted. This prevents the knob from touching the panel during rotation.
- Secure the Knob:
- Tighten the screw inside the knob to clamp the brass insert onto the pot shaft. This locks the knob in place.
- Replace the Cap:
- Press the plastic cap back onto the knob to complete installation.
-
Safety Notes:
- Always disconnect power before installing or adjusting the controller.
- Ensure wiring connections (motor and power) are secure using the provided 4mm bullet connectors.
RPM Visualizer:
6 Reviews Hide Reviews Show Reviews
-
Looks like a great solution
I am modifying and updating the feed roller system on a wood planer machine and it looks like this is going to work out great. I haven't run it in production mode yet but have the motor mounted and have tested the operation. I am really optimistic about this solution. Wish I could upload a picture.
-
All the product so far has been good!
I have purchased several of these and going to purchase more.
-
Exactly what I needed
I've been looking high and low for a motor like this. It fits my application perfectly!
-
12v motor , service
The products I bought all work great, the service I received on the phone was 5 star . Thanks again.
-
Great low cost motor
I was looking for a modest cost DC motor to control two pumps. This worked great. Really only got reliable rpm down to about 20-25 rpm. Great torque for the price.
-
Good
Had a little issue with variable speed not working. Once it started, it is working well now


