

The is the keyfob you may add to your MOM-RC2. This unit works with MOM-RC2 ONLY.
We have discovered that many of the 27A batteries inside the key fobs have been drained to a low-voltage state, causing intermittent control issues. Please replace them with the fresh batteries provided. Thank you.
Battery type used for this keyfob is 27A alkaline battery.
Add more keyfob(s):
- Power on the receiver unit. The receiver is the box with wires connected to the 12v power source and the motor.
- Within 15 seconds of powering the receiver, press and hold one of the keyfob's two buttons (A or B) for 5 seconds.
- Confirm successful pairing by observing the receiver's LED light (inside) flashing 3 times.
You may buy the whole MOM-RC2 kit through the link below:
MOM-RC2 - Wireless Momentary Remote Control Switch 12vdc Version 2

Instructions for Replacing the Battery in the Remote Control
Locate the Screw: Turn the remote control over to the back side. You will see a small screw located near the top, usually close to the keyring attachment.
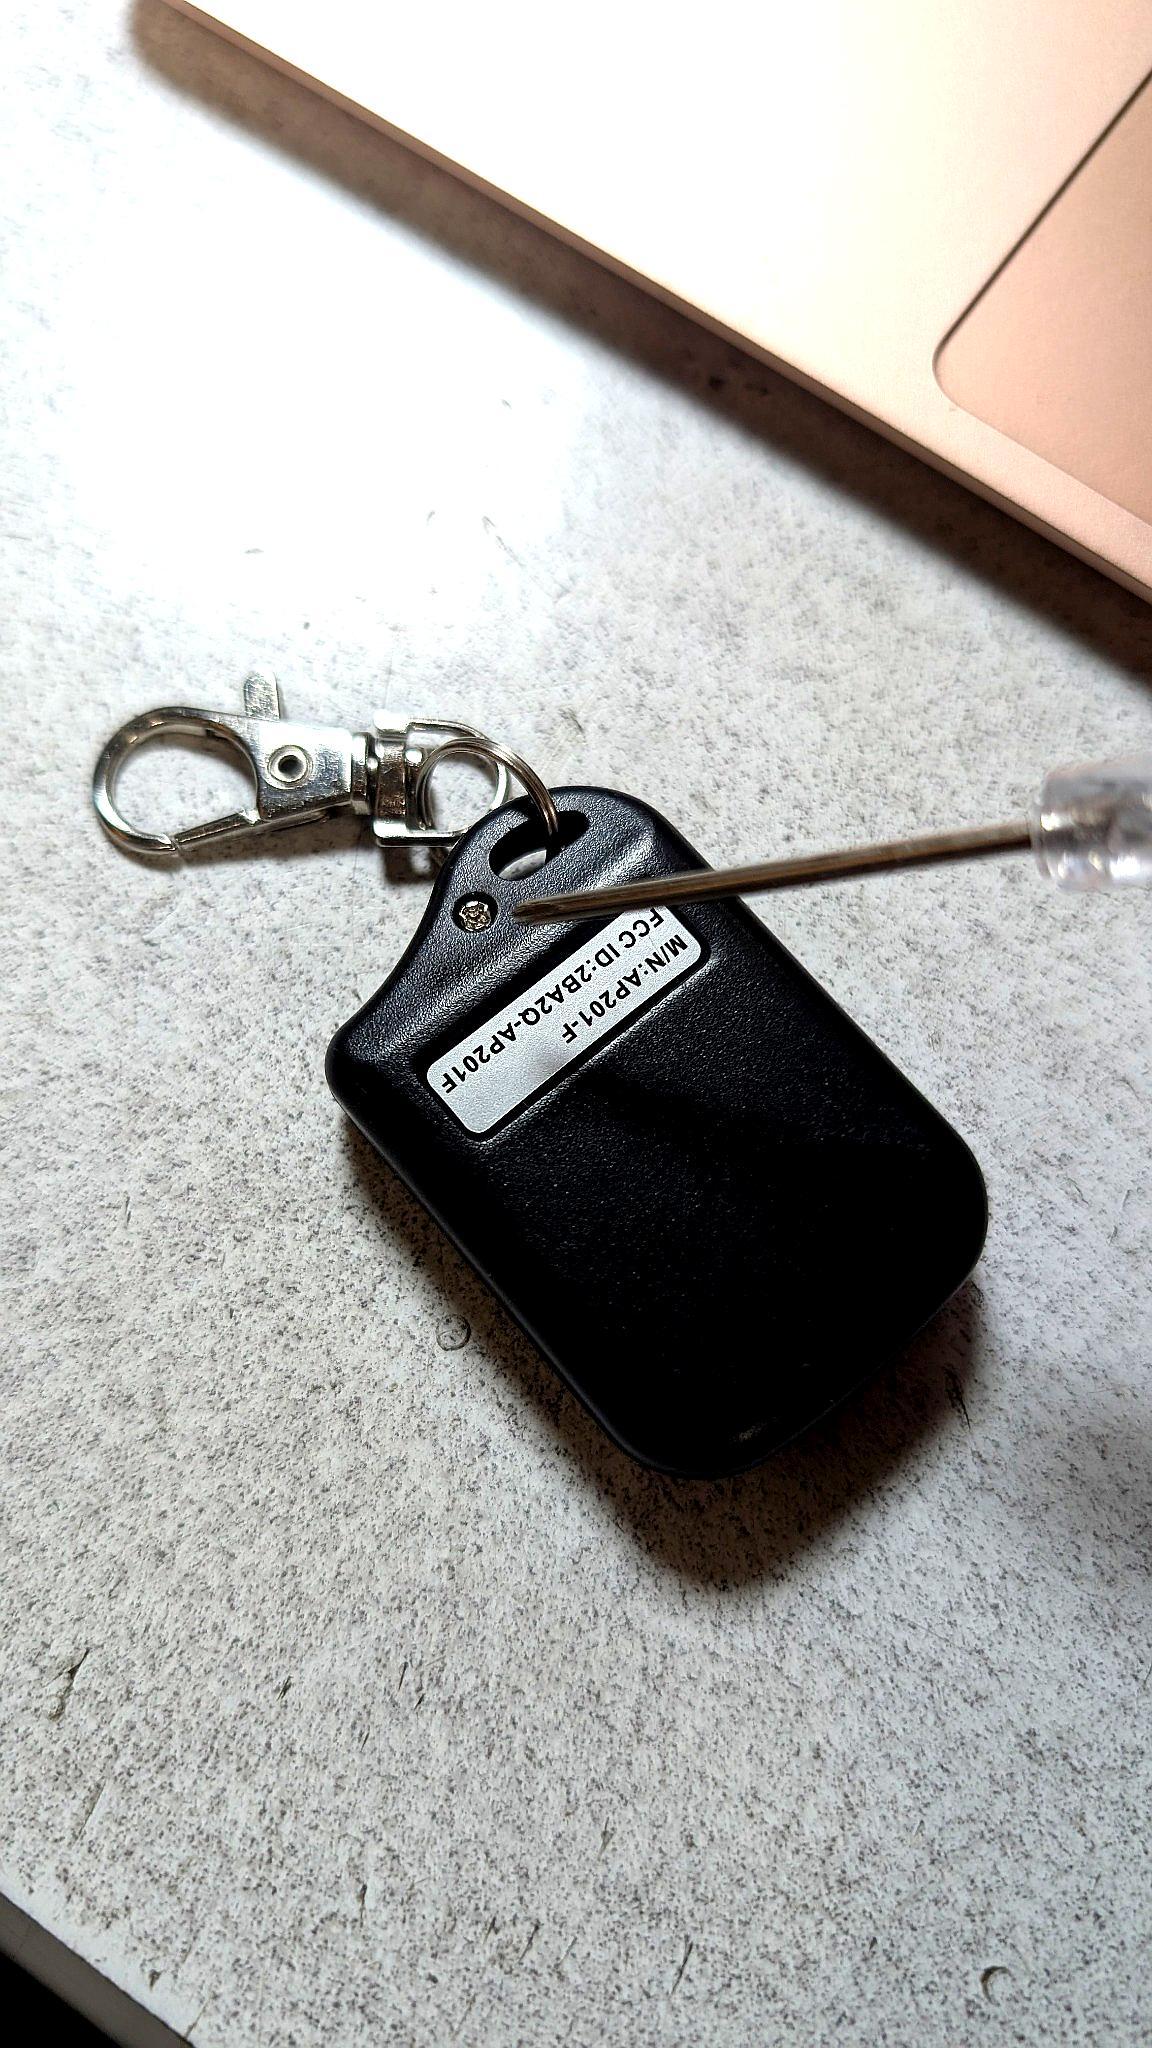
Remove the Screw: Using a small Phillips head screwdriver (like the one shown in the picture), carefully unscrew and remove the screw. Set the screw aside in a safe place so you don't lose it.
![[Image 2: Screw removed and placed aside]](https://cdn11.bigcommerce.com/s-q63z26x00i/images/stencil/original/image-manager/edited-rcbat2.jpg?t=1742013974)
Open the Remote Casing: Gently separate the two halves of the remote control casing. A razor blade (or a thin utility knife blade) works well for this. Be extremely careful when using a razor blade to avoid injury. Carefully insert the very tip of the blade into the seam between the two halves of the casing. Gently pry them apart, working your way around the seam. You may hear a click as the casing begins to separate. Avoid inserting the blade too deeply to prevent damaging internal components.
![[Image 3: Remote casing opened]](https://cdn11.bigcommerce.com/s-q63z26x00i/images/stencil/original/image-manager/edited-full-rcbat3.jpg?t=1742014000)
Confirm Battery Type: The battery should be a 27A 12V alkaline battery. Once the casing is open, you will clearly see the battery. It's essential to replace it with the exact same type to ensure proper operation of your remote.
![[Image 4: Battery visible inside the opened remote]](https://cdn11.bigcommerce.com/s-q63z26x00i/images/stencil/original/image-manager/edited-rcbat4.jpg?t=1742014140)
Remove the Old Battery: Gently pull the old battery straight out from its holder.
Tip: Pay attention to the orientation of the battery before removing it. Note which side is facing up or down (positive and negative terminals), so you can insert the new battery in the same way. Usually, the positive (+) side is marked on the battery and the holder.
Install the New Battery: Take your new 27A 12V battery and insert it into the battery holder in the same orientation as the old one. Make sure it is firmly seated and makes good contact in the holder.
Close the Remote Casing: Carefully align the two halves of the remote control casing and press them back together until they snap or click into place. Ensure the seam is closed completely all the way around.
Reinstall the Screw: Place the screw back into its hole and tighten it gently with the screwdriver. Turn the screw until it is snug, but do not over tighten, as this could damage the plastic casing.
Test the Remote: Try using your remote control to see if it is now working correctly with the new battery. Press the buttons and check if the intended device responds.
 are included in this
package. Wireless signal range is 100 ft.")


