

25A PWM Brushed DC Motor Speed Controller – Simple & Reliable
Control brushed DC motors (10-30V) effortlessly with this heavy-duty PWM speed controller, built to handle up to 25A continuous current. Perfect for DIY projects or industrial tools.
Features:
- 10-30V DC Input: Works with brushed dc most motors.
- 25A Continuous Load: Handles high-power tasks.
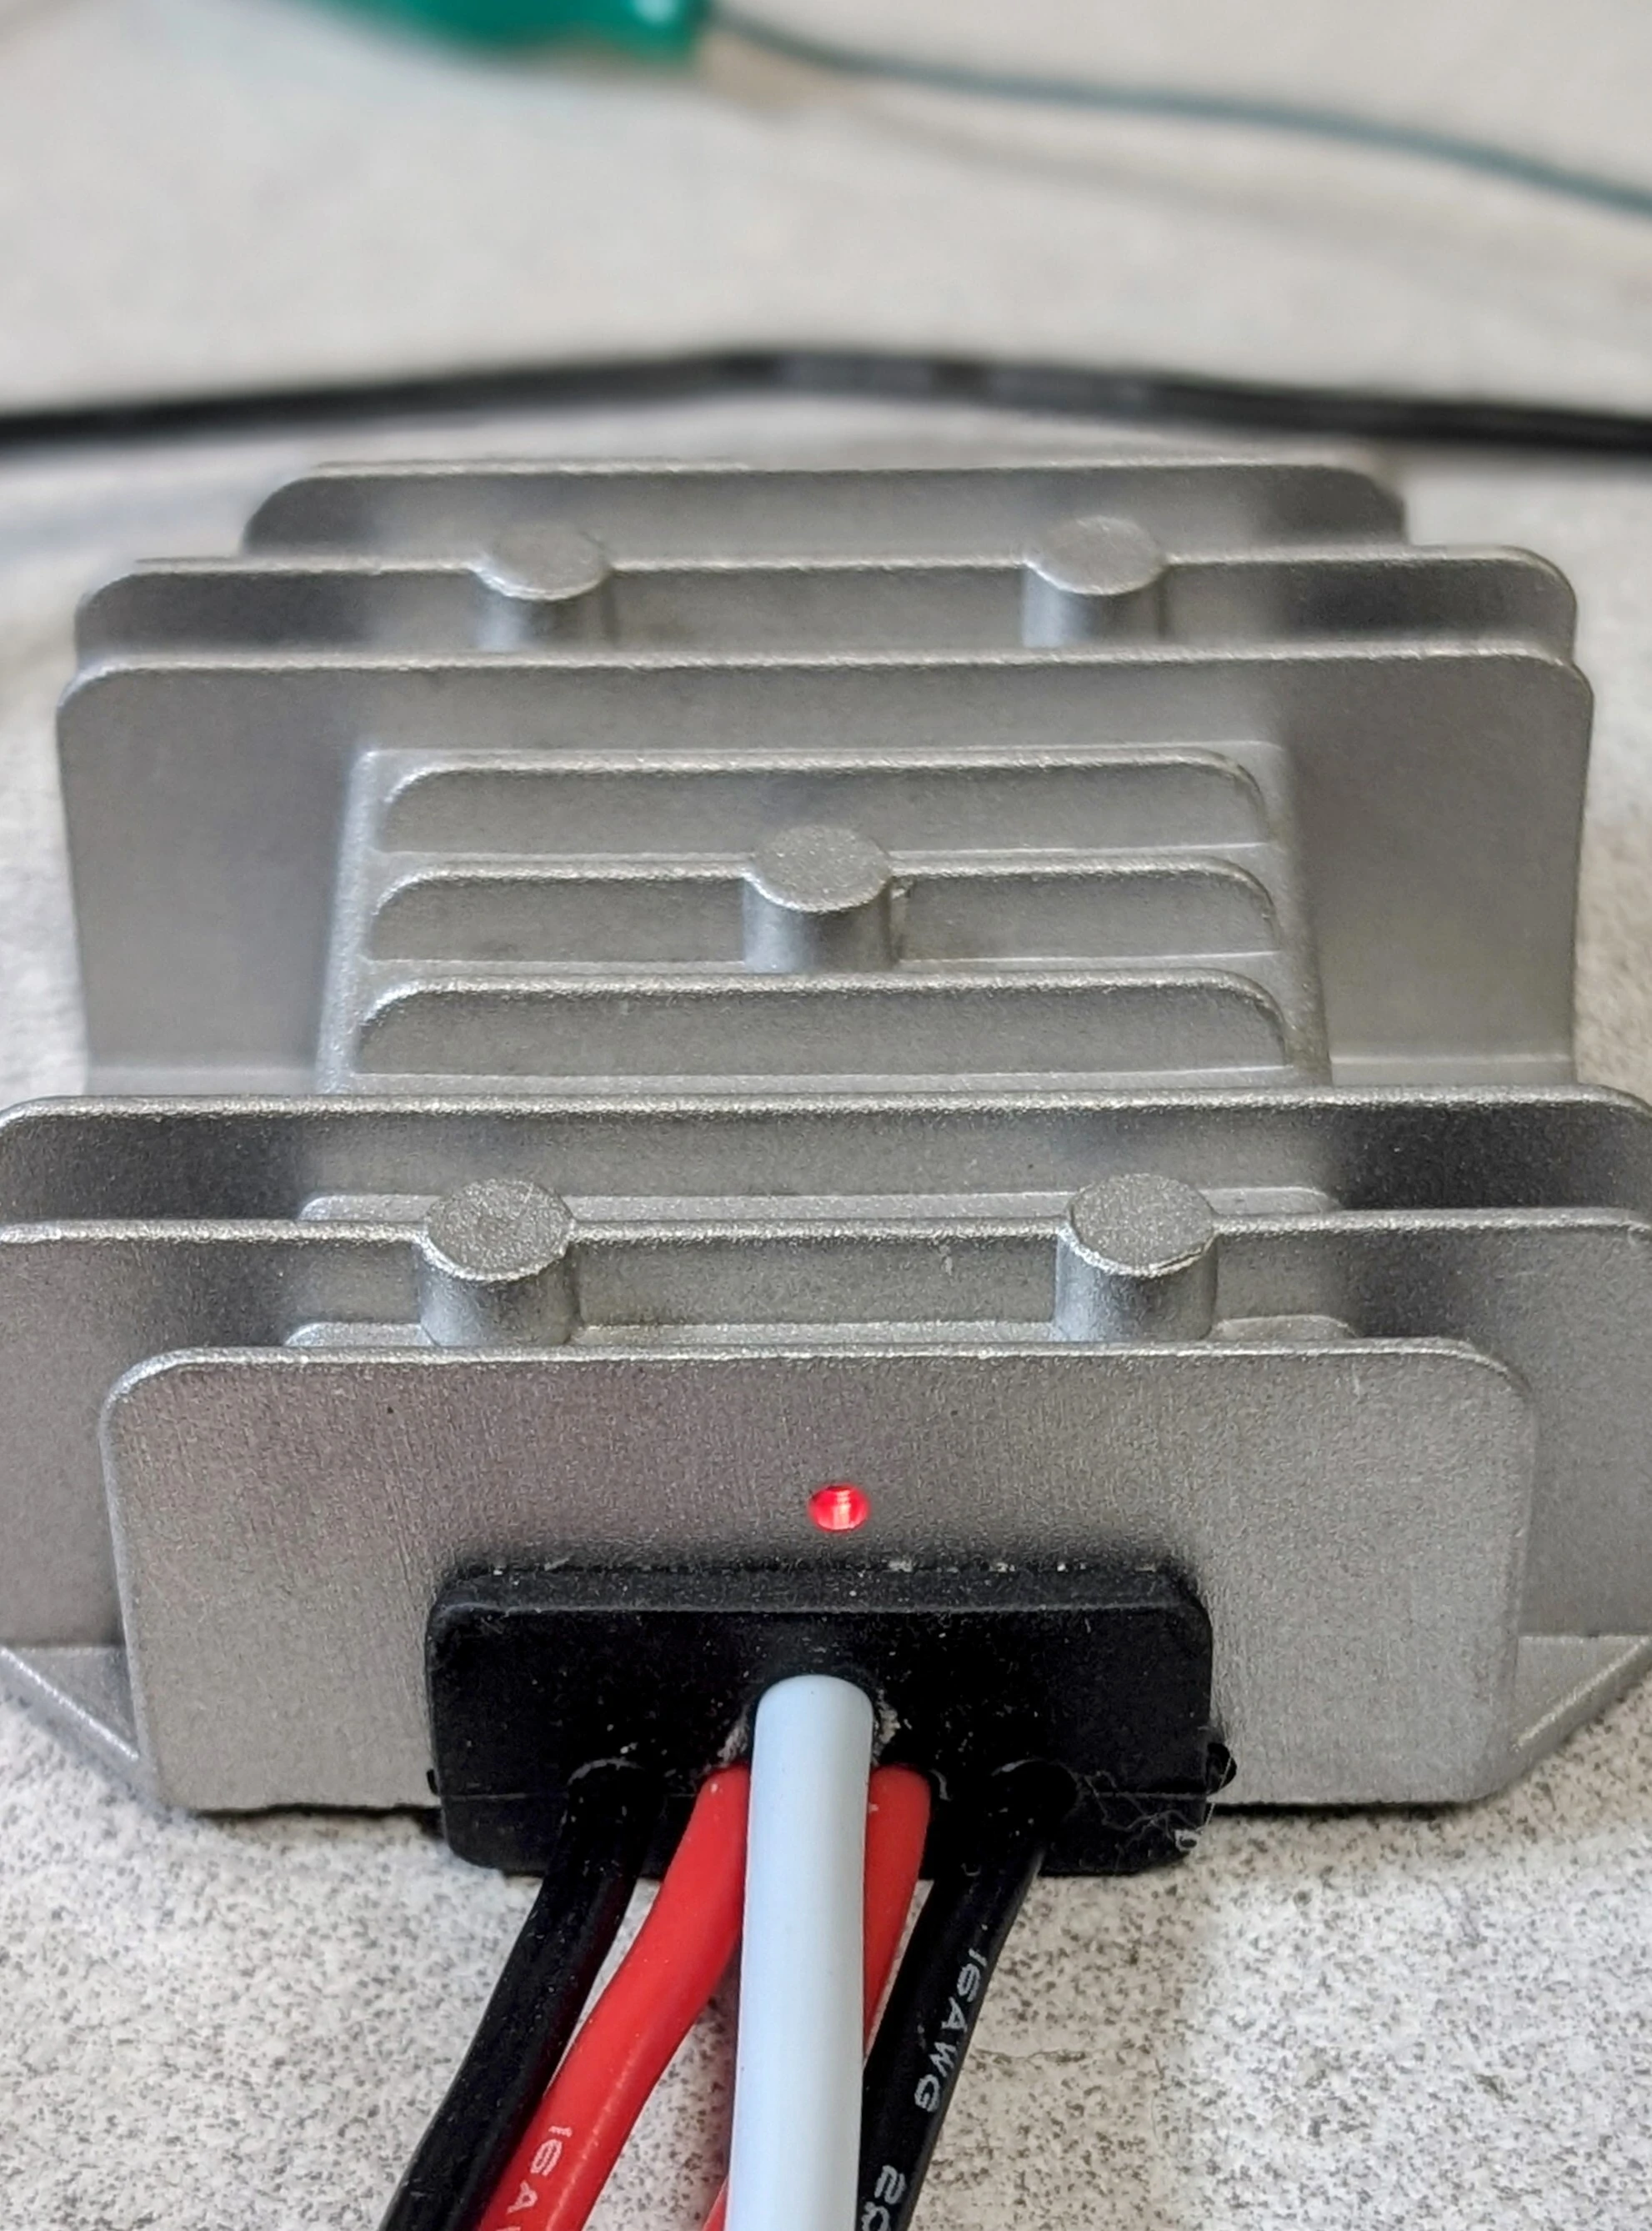
- Aluminum Case: Stays cool, lasts longer.
- Easy Knob Control: Adjust speed smoothly.
- Knob as On/Off Button + LED: Power up/down without losing your speed setting.
- Reverse Polarity Protection: Safe against wiring mistakes.
- 4mm Bullet Connectors: Quick, tool-free motor/power hookups.
Use For: Robotics, fans, conveyors, CNC machines, and more.
How to wire (motor does not come with this product):

Operating Instructions
- Power On/Off:
- Press the knob (like a push button) to turn the controller ON or OFF.
- A built-in LED indicator will light up when the controller is powered ON.
- Adjusting Speed:
- Rotate the knob clockwise to increase motor speed or counterclockwise to decrease it.
Knob Installation Guide
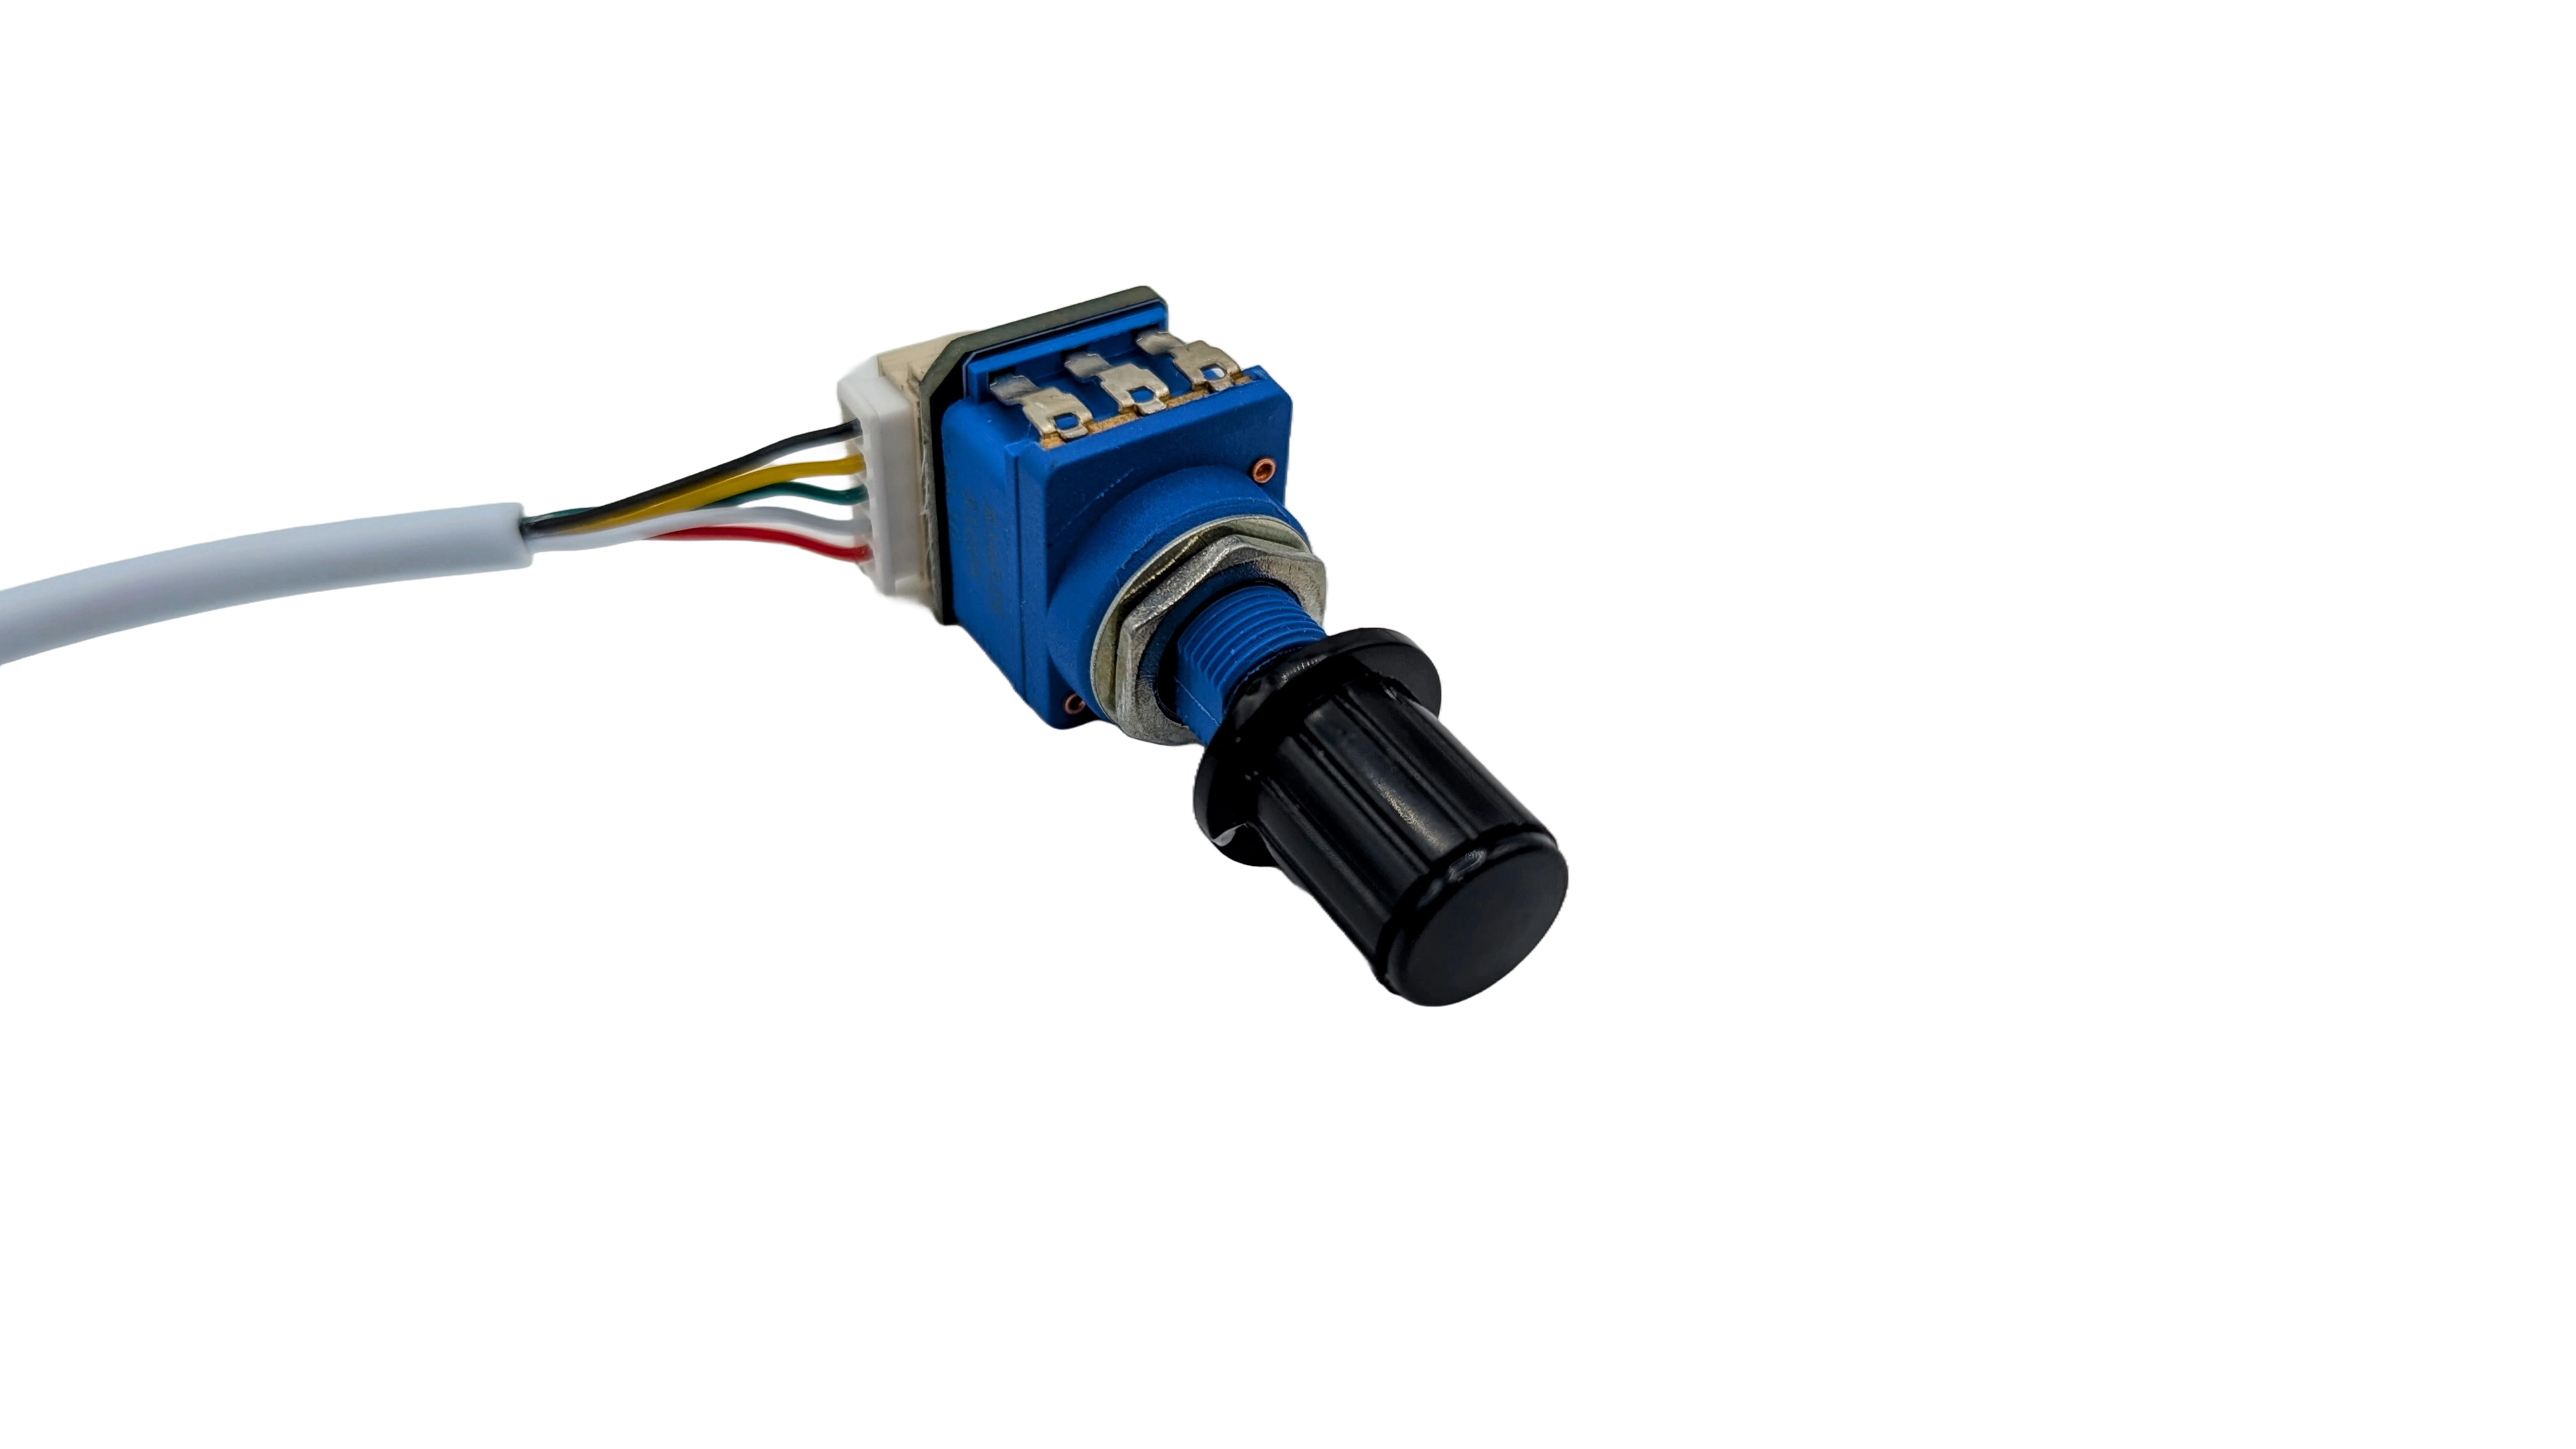
Follow these steps to securely attach the knob to the potentiometer (pot) shaft:
- Remove the Plastic Cap:
- Gently pull off the plastic cap from the top of the knob to expose the screw inside.

- Attach the Knob:
- Slide the brass insert (inside the knob) onto the pot shaft.
- Ensure the knob is positioned with a small gap between it and the panel where the pot is mounted. This prevents the knob from touching the panel during rotation.
- Secure the Knob:
- Tighten the screw inside the knob to clamp the brass insert onto the pot shaft. This locks the knob in place.
- Replace the Cap:
- Press the plastic cap back onto the knob to complete installation.
Safety Notes
- Always disconnect power before installing or adjusting the controller.
- Ensure wiring connections (motor and power) are secure using the provided 4mm bullet connectors.
1 Review Hide Reviews Show Reviews
-
12v PWM
compact unit and potted for durability. works as it is supposed to.

 11-30v Motor Driver Speed Controller 10A")


